The following is a step-by-step lesson on how to use ActiveX in Microsoft Visual C# (C sharp) 2008 Express Edition
In this lesson, we will use Ultimaserial ActiveX to develop a data acquisition application to use DATAQ's Starter kit DI-158 via USB port.
32 or 64-bit?
Most ActiveXs are 32-bit components, you must select 32-bit code option when using 64-bit compilers. Both 32-bit and 64-bit Windows runs 32-bit applications properly.
-
Run Microsoft Visual C# 2008 Express Edition
-
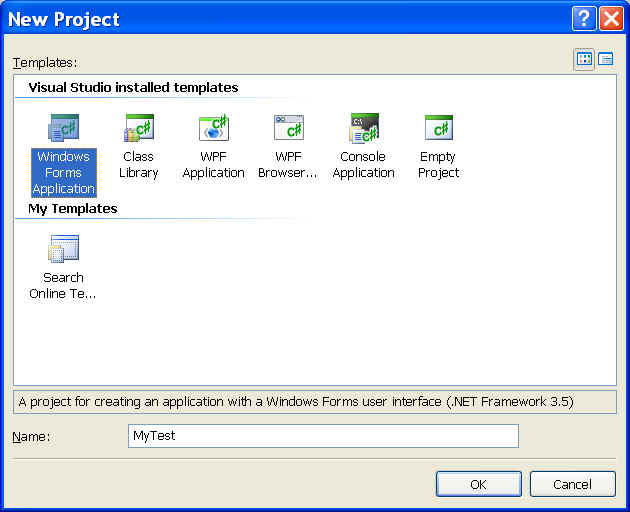
Start a New Project from File menu. Select Windows Forms Application. Give a name MyTest to the project, hit OK
-
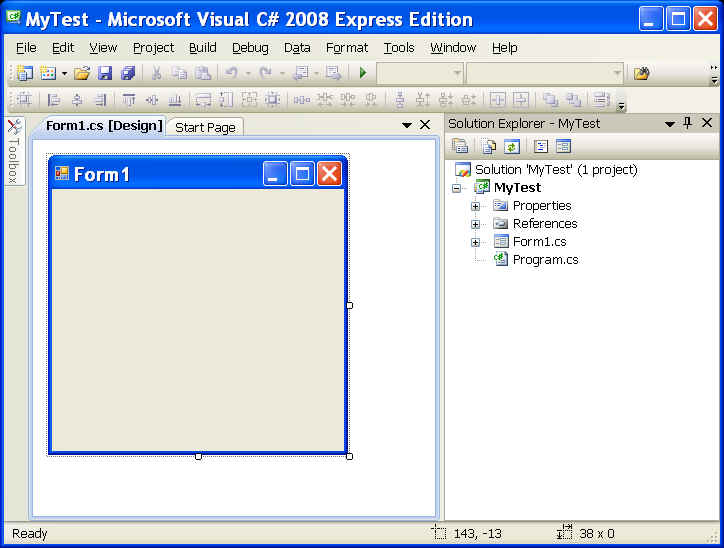
A form is created
-
Move the cursor to the Toolbox column and click left button to expand the Toolbox pane
-
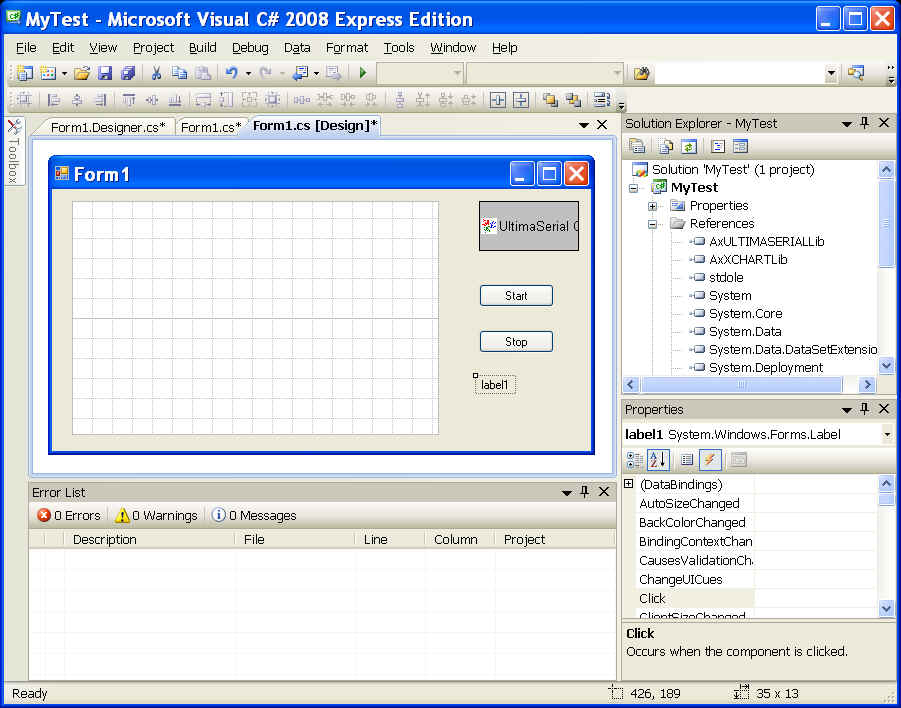
Inside the Toolbox pane, right click to bring out the menu, click Choose Items... It will take a while before the dialog box "Choose Toolbox Items" appears.
-
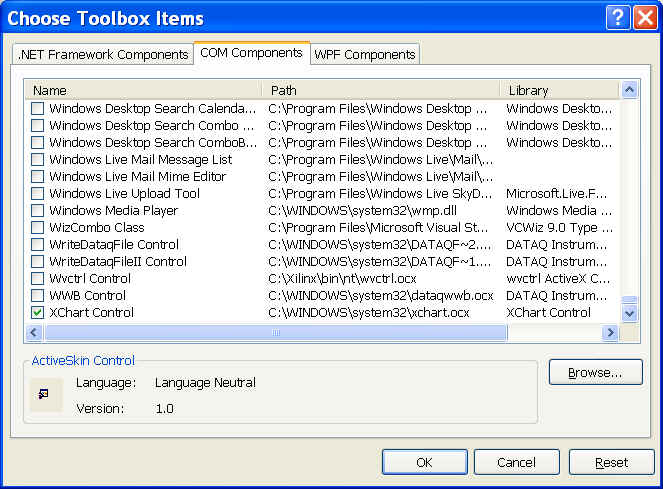
In the dialogue box "Choose Toolbox Items", select COM components tab
-
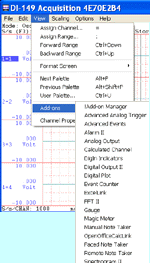
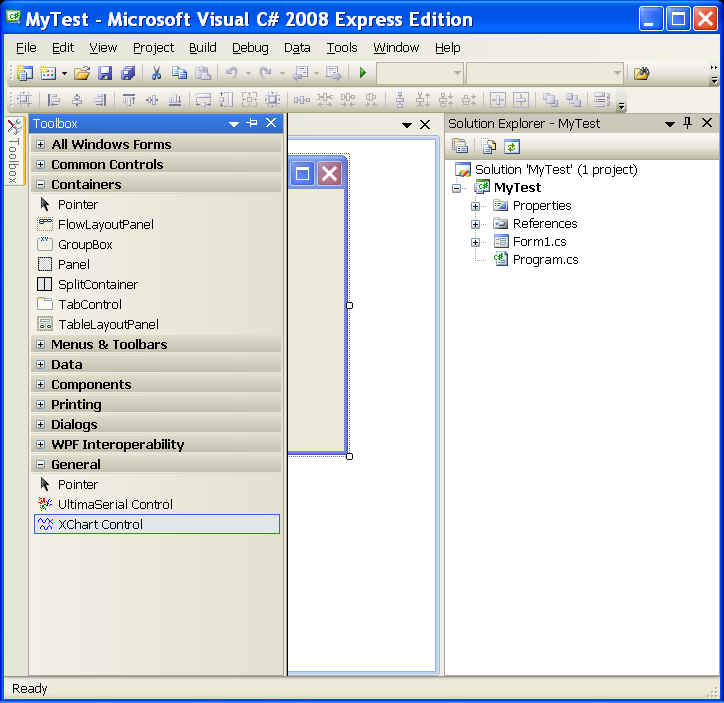
Check both Ultimaserial and XChart Controls, hit OK. Now you will see these two controls in the Toolbox pane:
-
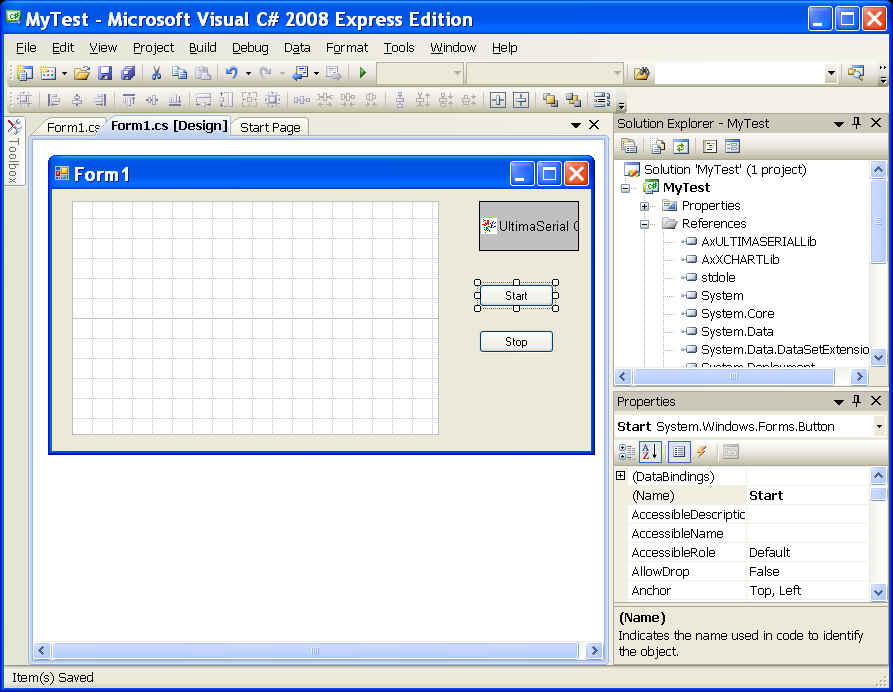
Add Ultimaserial and XChart components to the form, along with two buttons, change their text and name to Start and Stop
-
Double click on the two buttons to create codes (you will need to switch between the tabs of form1.cs* and form1.cs[Design]* to do so)
-
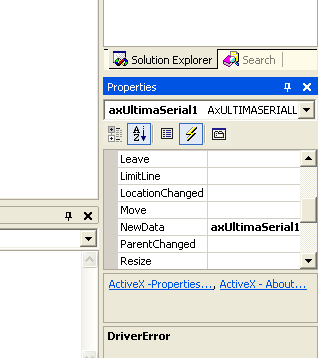
Back in form1.cs[Design]* tab, select Ultiamserial icon, in its property pane, select Event tab, which looks like a lightning.
-
Double click on NewData event, now Visual C# 2008 should generate codes should be like this:
private void Start_Click(object sender, EventArgs e)
{
}
private void Stop_Click(object sender, EventArgs e)
{
}
private void axUltimaSerial1_NewData(object sender, AxULTIMASERIALLib._DUltimaSerialEvents_NewDataEvent e)
{
}
-
Add our codes:
private void Start_Click(object sender, EventArgs e)
{
axUltimaSerial1.Device=158;
axUltimaSerial1.CommPort=0;
axUltimaSerial1.SampleRate=20;
axUltimaSerial1.ChannelCount=1;
axUltimaSerial1.AcquisitionMode=0;
axUltimaSerial1.Start();
}
private void Stop_Click(object sender, EventArgs e)
{
axUltimaSerial1.Stop();
}
private void axUltimaSerial1_NewData(object sender, AxULTIMASERIALLib._DUltimaSerialEvents_NewDataEvent e)
{
axXChart1.Chart (axUltimaSerial1.GetData());
}
-
Build the solution and it should work now!
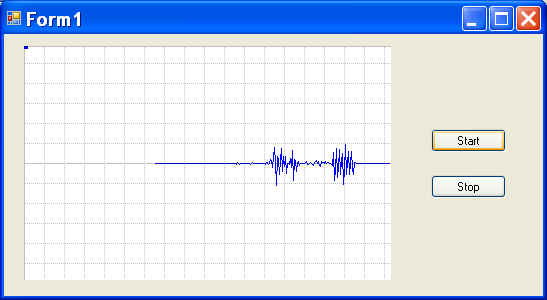
-
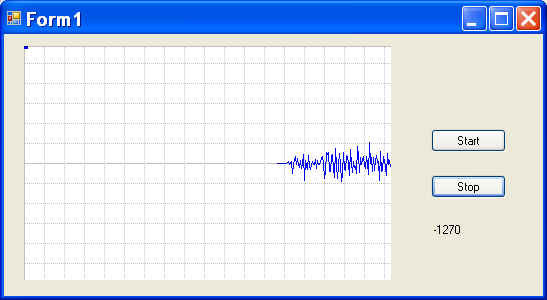
Now we will extract one data point from the first channel for display.
-
Add a label to the form
-
Switch back to Form1.cs pane and change axUltimaSerial1_NewData to
private void axUltimaSerial1_NewData(object sender, AxULTIMASERIALLib._DUltimaSerialEvents_NewDataEvent e)
{
object V ;short[,] intArray;
string sdata;
V = axUltimaSerial1.GetData();
axXChart1.Chart(V);
intArray = (short[,])V;
sdata=intArray[0, 0].ToString() ;
label1.Text = sdata;
}
-
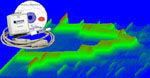
Build the solution and run it, here is what you will see
-
To create a new waveform from the data collected and chart it, use a managed array. Please take a look at this and you should be able to construct your own codes:
short[,] shortArray;
shortArray = new short[2, 100];
short i;
for (i = 0; i < 100; i++) shortArray[0, i] = 20000;
axXChart1.Chart(shortArray);
Last update: 03/14/22
Copyright: 2000-2005 www.UltimaSerial.com